
How To Import NIFs

First, you’ll need to download the blender NIFtools addon here
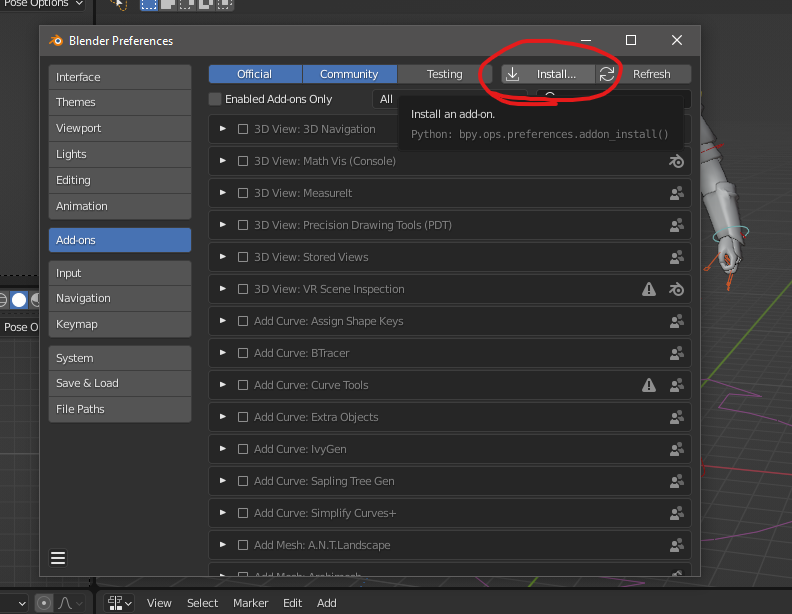
To Install the addon, we need to open the user preferences menu
Next, click Install and choose the
directory where you downloaded the zip archive
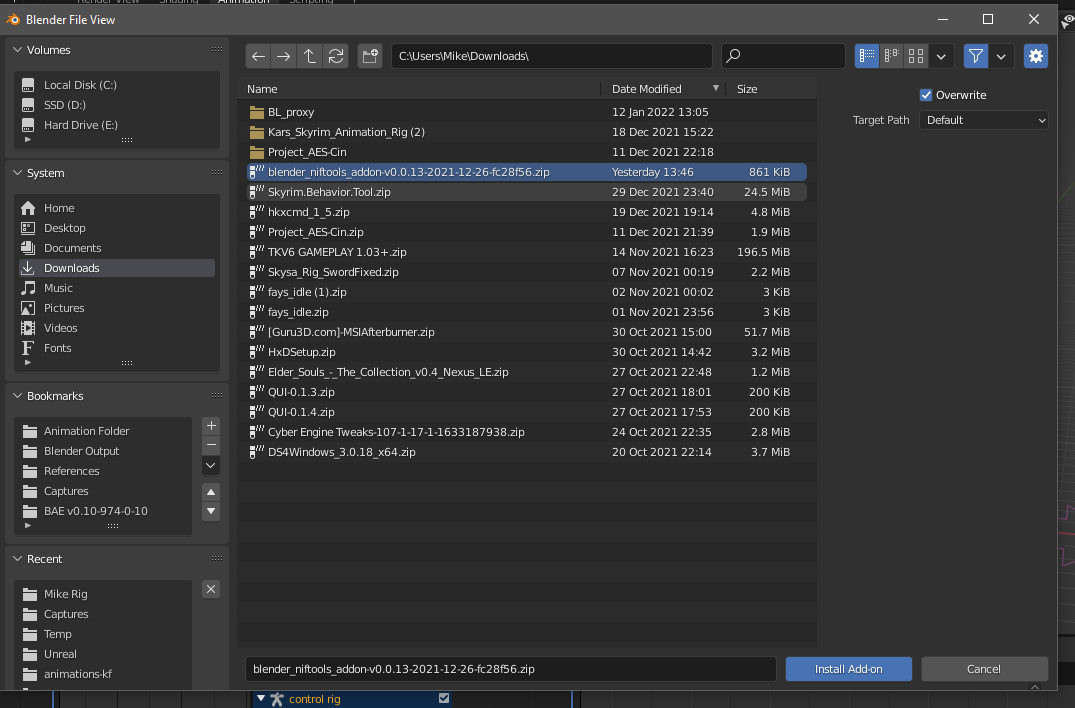
Once you’ve successfully installed the niftools addon
We can begin importing armors and weapons in NIF format
(Note that only LE nifs are supported by niftools)
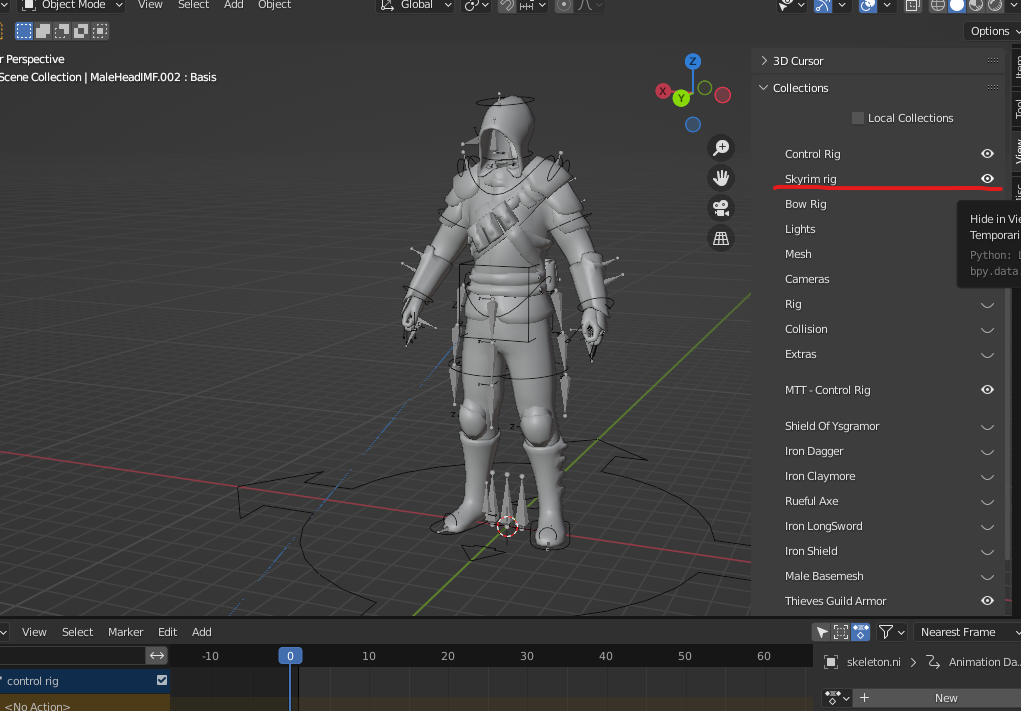
Open the Sidebar (N key by default) and navigate to the “View” tab
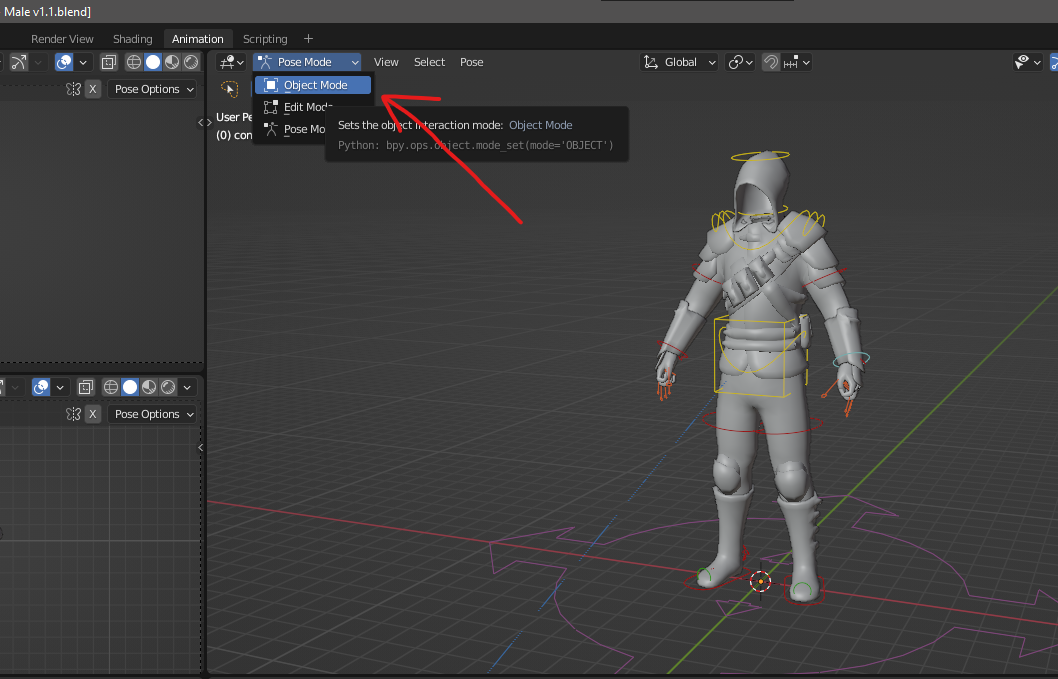
Make sure the Skyrim skeleton is visible and selectable
With the Skyrim skeleton selected in object mode
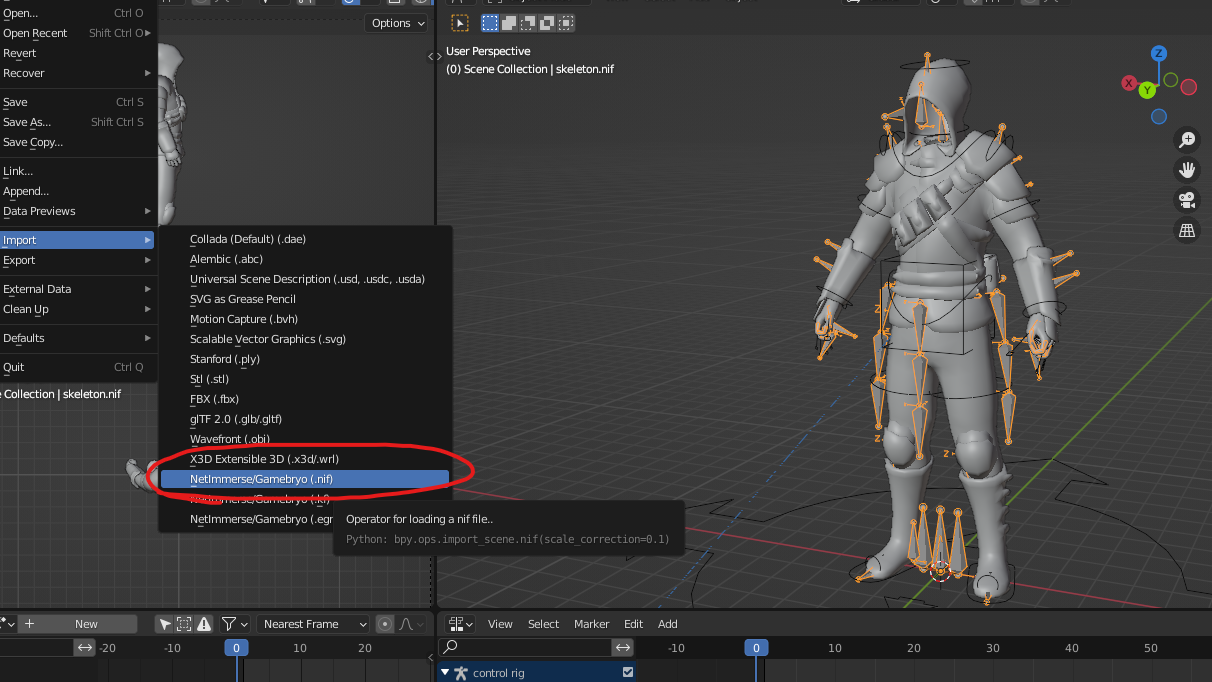
We’ll navigate to File < Import < NetimmerseGamebryo (.nif)
Additional note: As long as your nifs and textures are in the same directory and the correct file structure (The same as if you had them in MO2, Vortex, or your game install) then they’ll be imported with textures applied to the mesh, if you do not do this step you will need to redirect the texture paths to wherever you placed them.
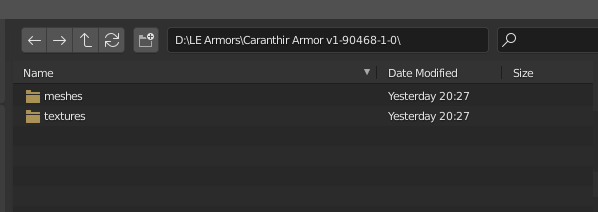
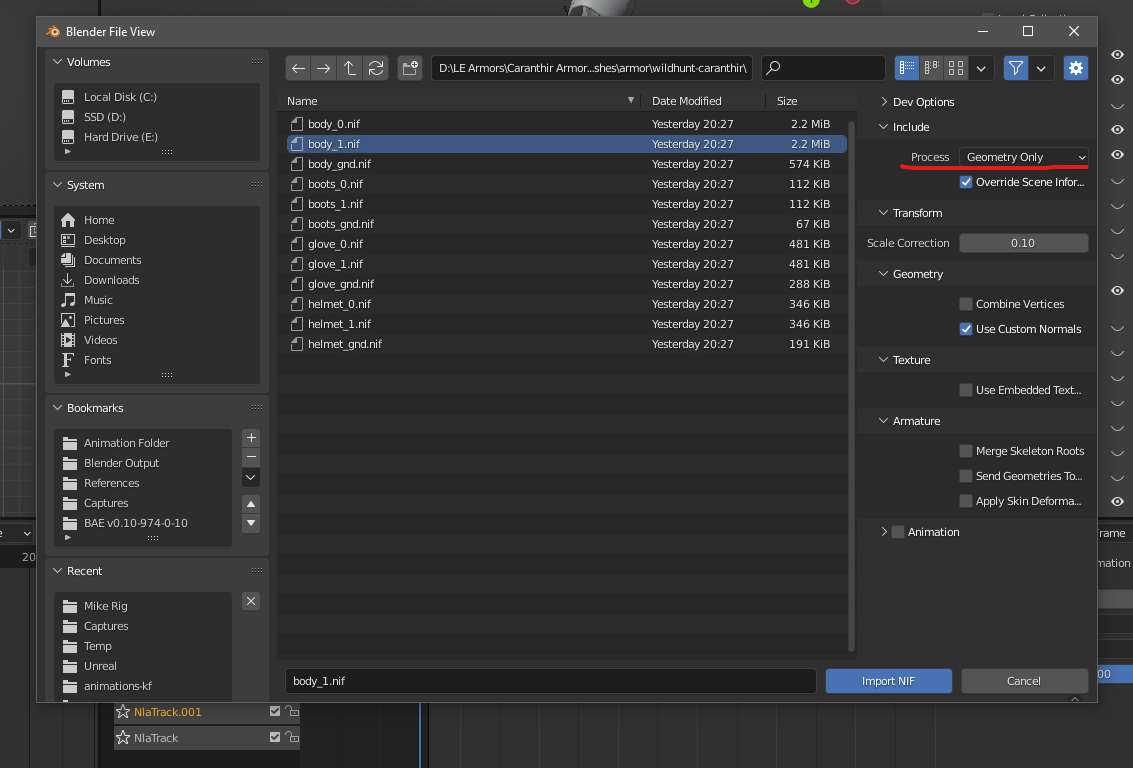
Navigate to the path where you have the nif files you want to import (you can only import one at a time)
Before exporting, you want to make sure that you have the following import option:
Process < Geometry Only
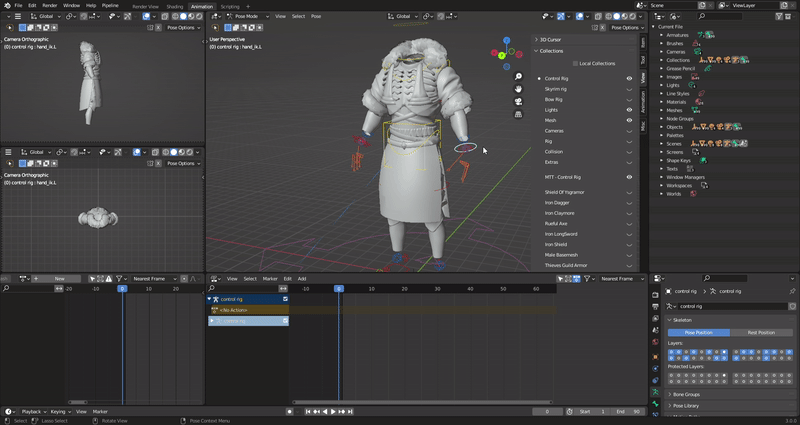
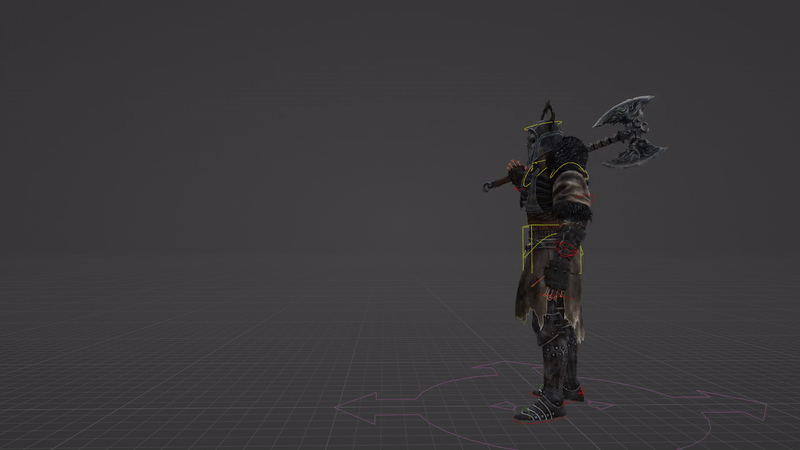
Blender will pause for a moment to process the nifs, if you did everything right you will have your armor properly weighted to the skyrim skeleton and fully animatable!
note that there isn’t an XPMSE version available yet, meshes requiring XP32 may have vertex groups with 0 influence from any bones, as they’re meant to be parented to bones not present in the default skyrim skeleton
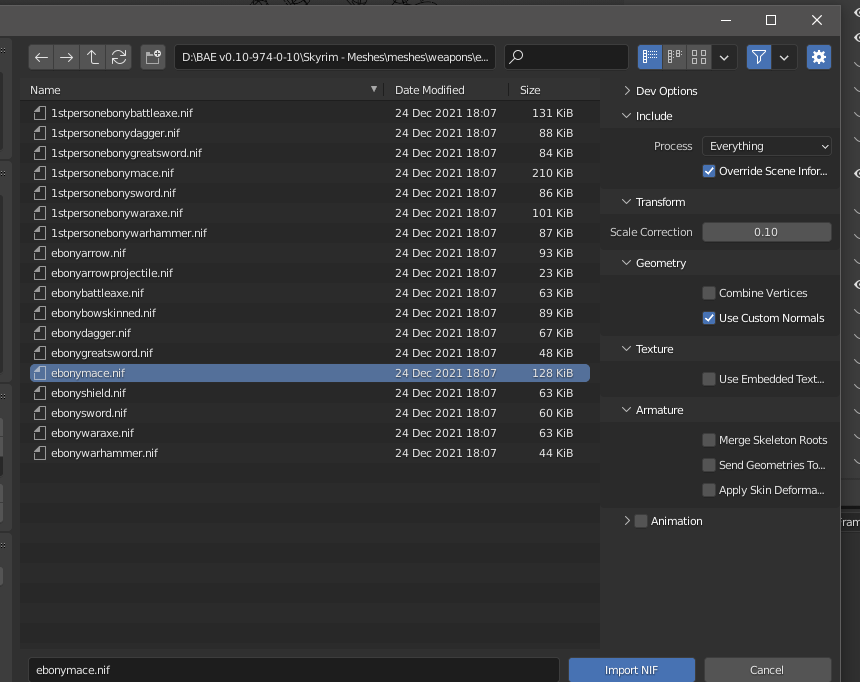
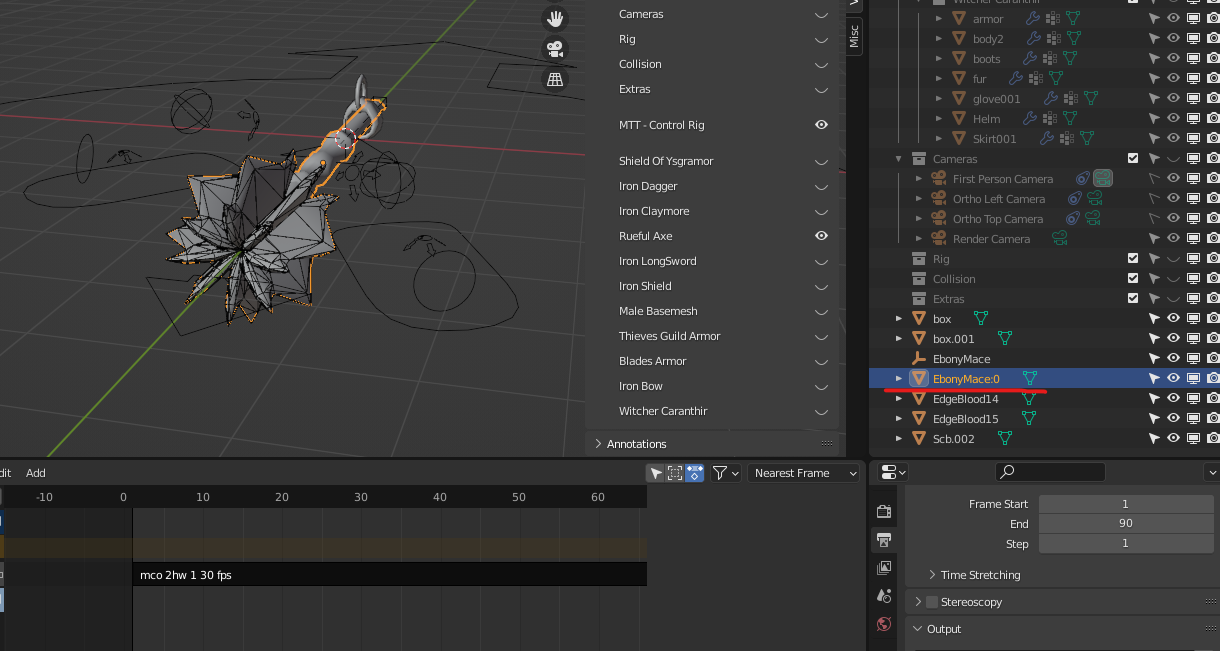
Importing weapons is a slightly different process, but just as easy.
Of course we start by navigating to our folder containing the nifs we want to import
However, there is no auto weighting to any bone in the skeleton. so we will need to constrain the mesh to an empty axis I created
The import options are different as well, we need to process everything inside the nif
Upon clicking import NIF, you’ll see multiple objects
for our purposes we only need the weapon object itself
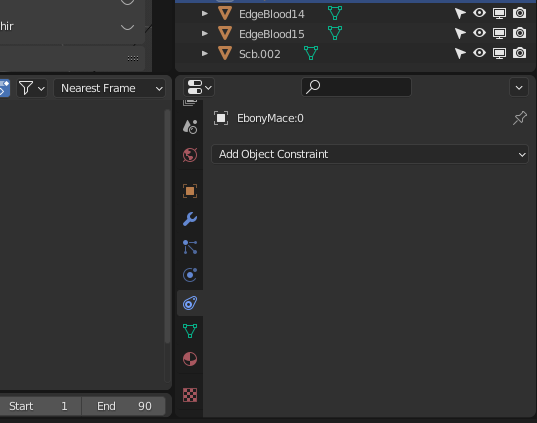
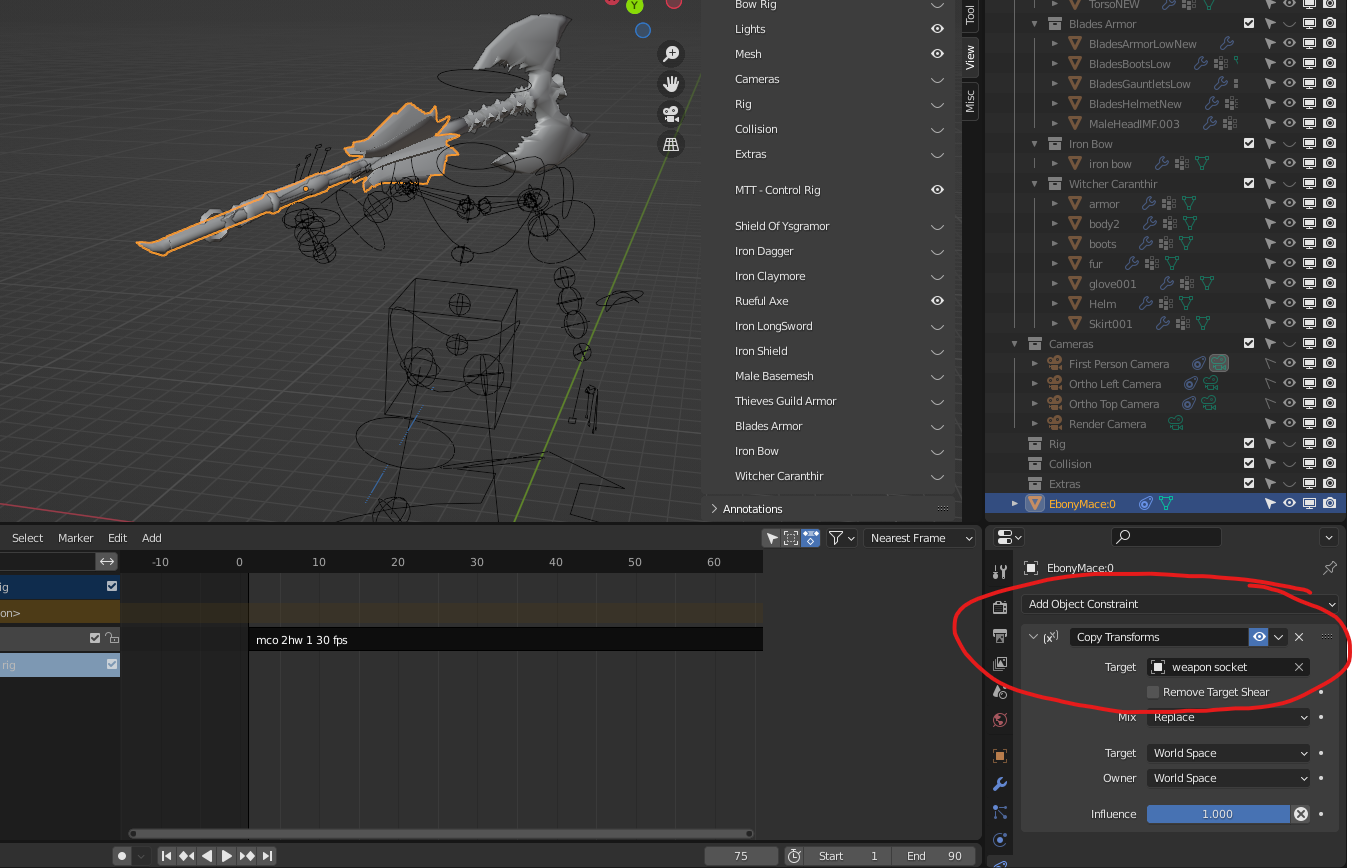
With the weapon mesh selected, we need to navigate to Properties < Object Constraints
We’ll create a copy transforms constraint, and our target will be “Weapon Socket” (or “Left Hand Weapon Socket” if you wish to parent the mesh to the other hand)
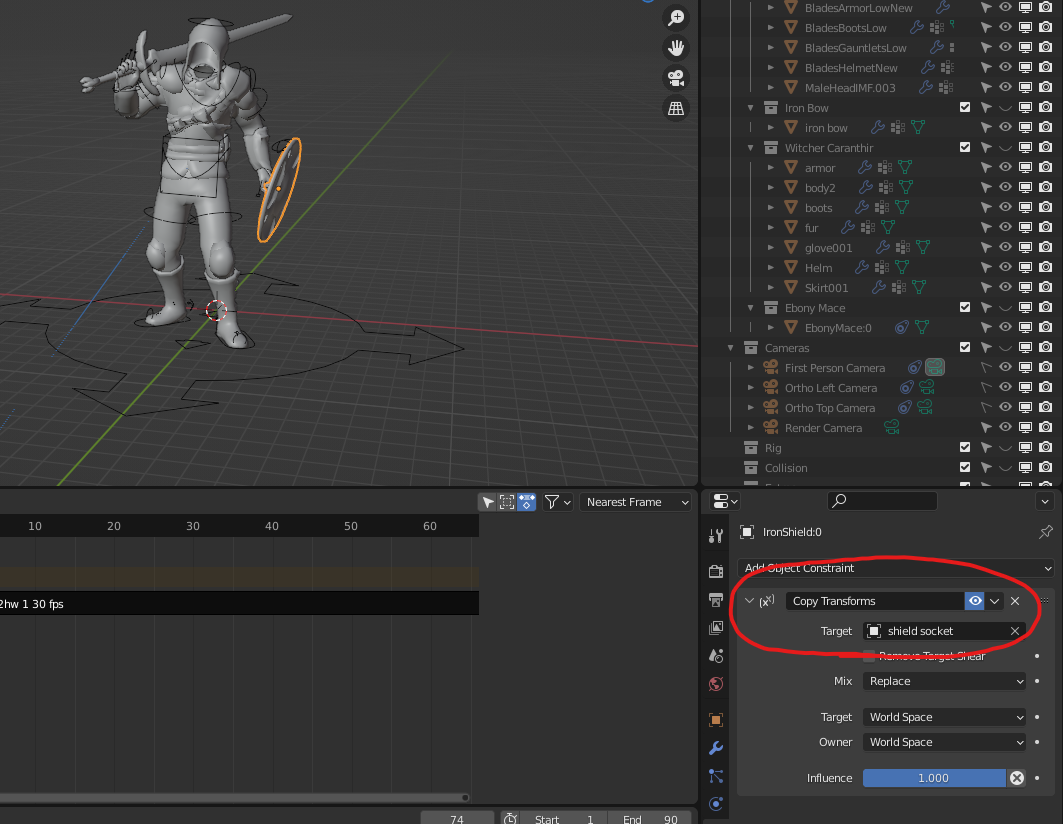
For shields the process is the same, but we’ll constrain the object to the “Shield Socket”
© 2021 Miken1ke Productions


